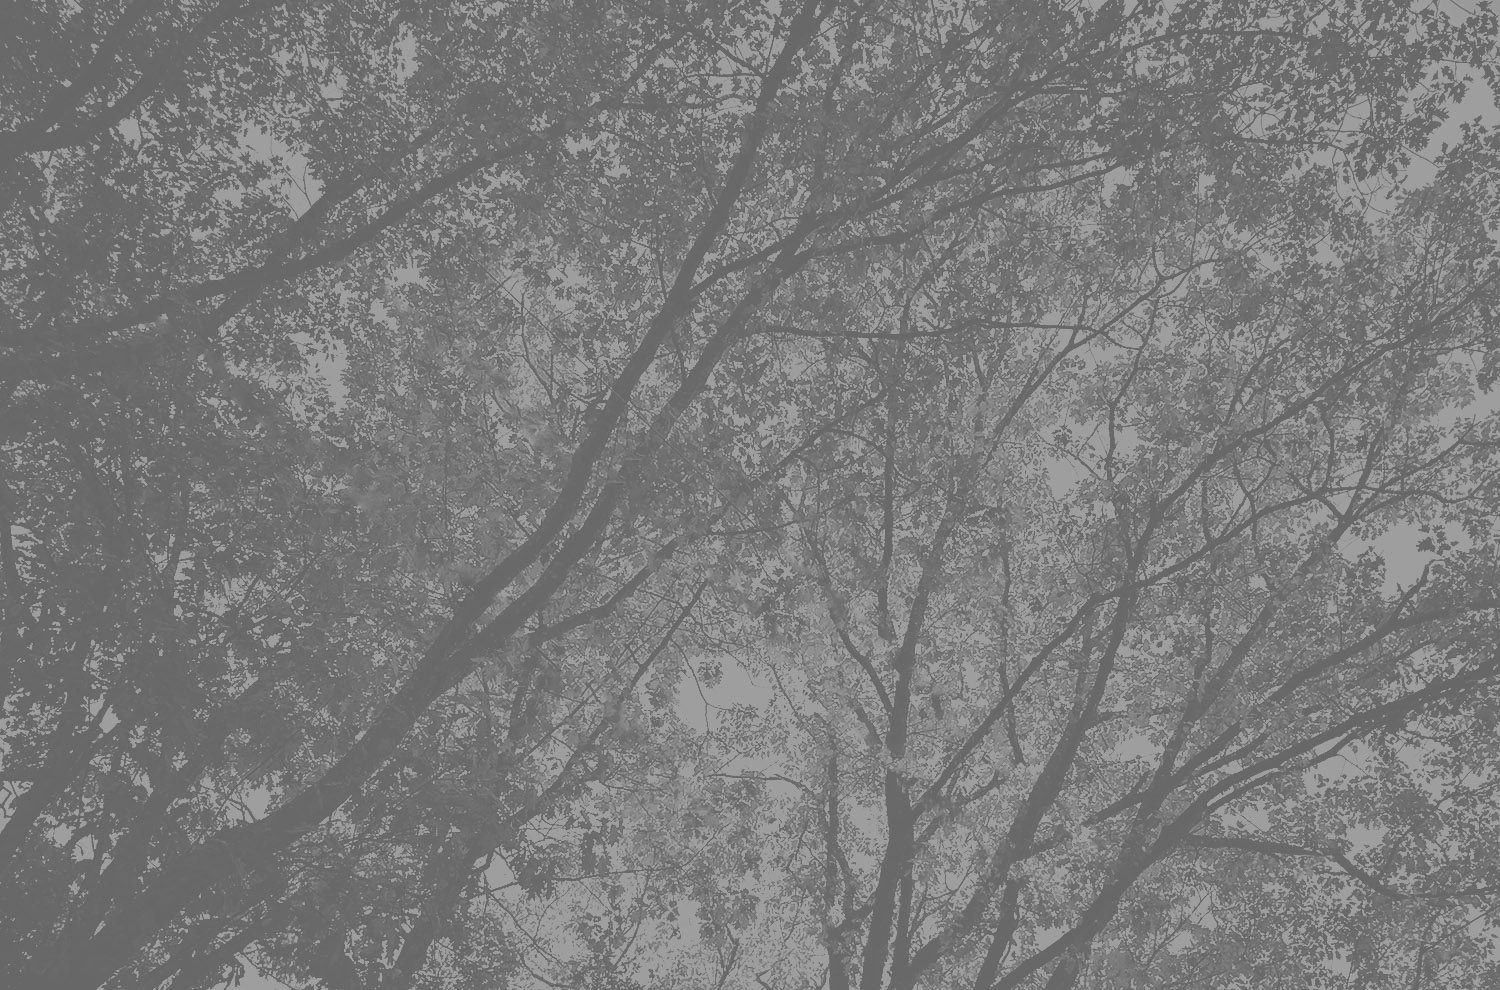
Susan Tuttlefine art photography


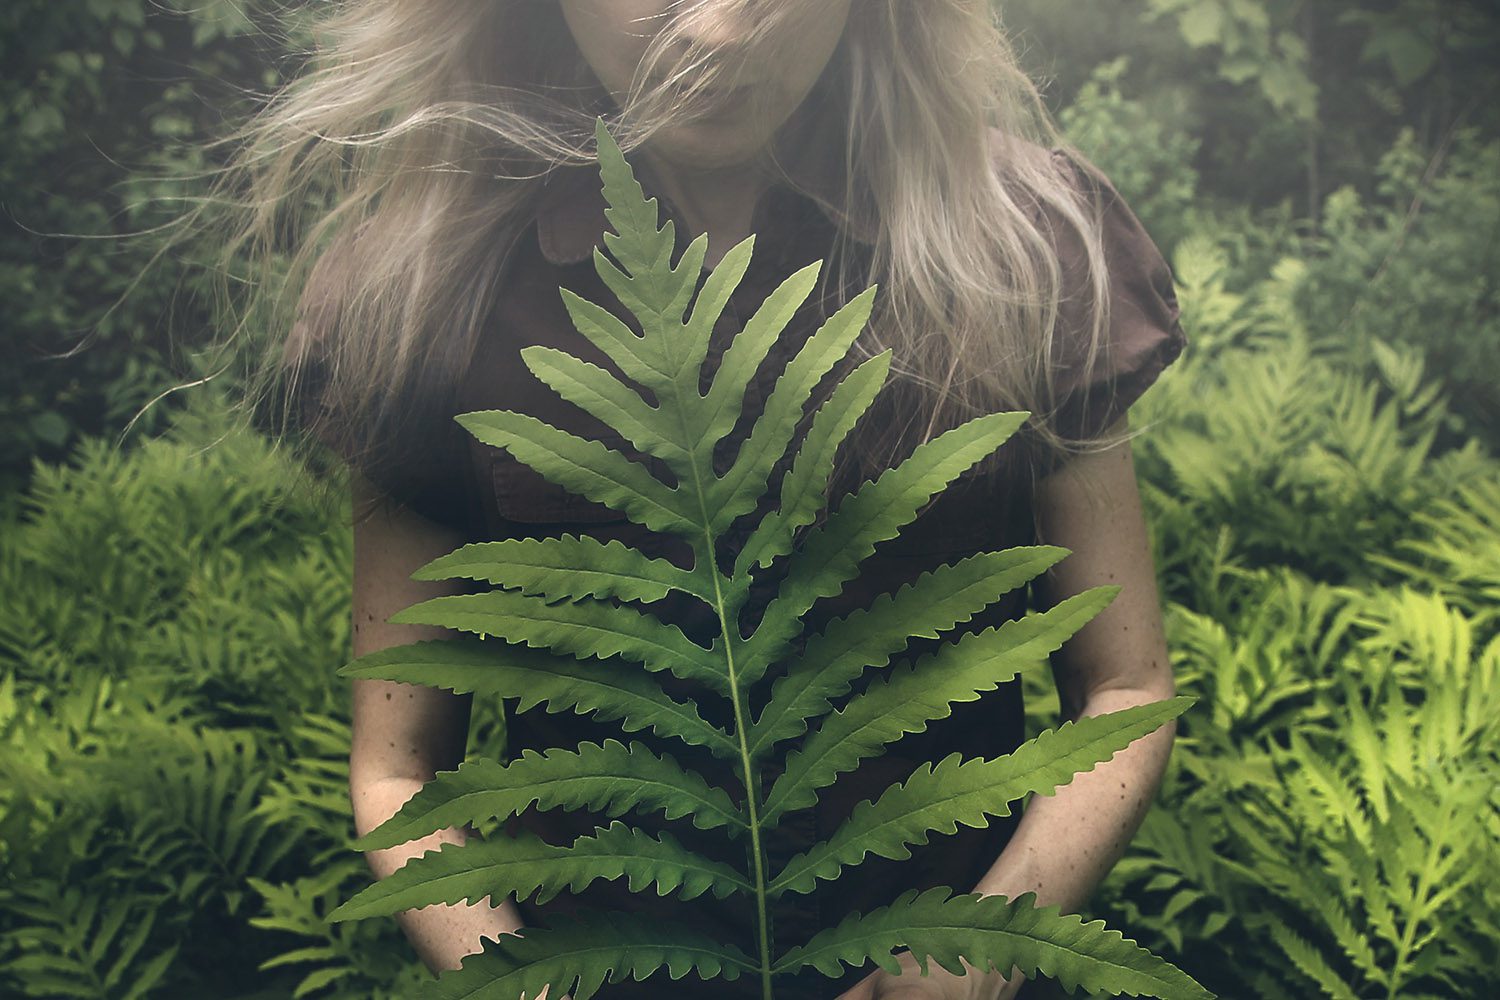
WelcomeSusan is a fine art photographer, author & herbalist
located in the woods of Maine.
She specializes in digital SLR photography,
iPhoneography, and teaching online
photoart courses.______
located in the woods of Maine.
She specializes in digital SLR photography,
iPhoneography, and teaching online
photoart courses.______
WelcomeSusan is a fine art photographer, author
& herbalist located in the woods of Maine.
She specializes in digital SLR photography,
iPhoneography, and teaching online
photoart courses.______
& herbalist located in the woods of Maine.
She specializes in digital SLR photography,
iPhoneography, and teaching online
photoart courses.______
inbox love for you:
If you'd like to be the first to hear about new online courses and exclusive special offers, please sign up below. Rest assured I will never to share your email with another party.
inbox love for you:
If you'd like to be the first to hear about new online courses and exclusive special offers, please sign up below. Rest assured I will never to share your email with another party.
inbox love for you:
If you'd like to be the first to hear about new online courses and exclusive special offers, please sign up below. Rest assured I will never to share your email with another party.
"Presentation, professionalism, + ease of understanding are as important as content, and with Susan's course I got all that + more. Susan definitely knows her stuff and inspired me to move beyond the mundane to the magical!"
-Geri Centonze
-Geri Centonze
"I love your style of teaching
so much, Susan! You explain every method perfectly in a structured and easy to follow way. It's always fun and inspiring to learn from you!"
-Rosie Grey
so much, Susan! You explain every method perfectly in a structured and easy to follow way. It's always fun and inspiring to learn from you!"
-Rosie Grey
As Seen In
